You know when time flies when you check out your blog and find out that it’s been almost 20 days since your last post. The past 20 days went by in a heartbeat and I wonder where they went. I could still remember the beginning of 2011 and now 2012 is almost knocking on the door.
I know my American family and friends celebrated Thanksgiving last Thursday and I hope you all had a great time with your loved ones. I wanted to make Thanksgiving dinner but the hubby didn’t want me to; too much trouble for just the 2 of us. So instead of having turkey we ate Vietnamese goi cuon.
It’s been almost 2 weeks since I got my first eye done and things are going just great. The whole procedure wasn’t as bad as I thought and after about 30 minutes later I was ready to go home. After the check up the next day I went straight to work.
So if you are thinking about having your eyes done, you should go and see what the possibilities are. Just to see if you are a candidate, because not everyone is. They first have to check if your eyes are suitable for it and then they have to determine what works for you. All you hear about eye correction is lasik or lasek, but there is more. And maybe better suitable for you. Yes it was a lot of money, but so far it’s been worth every penny.
I haven’t made apple pie in ages and I had about 4 Jonagold apples that had to be eaten. You know your apple has past the expiration date when the skin is getting somewhat oily. When that happens I normally lose my appetite in eating it raw, but for an apple pie they are still good enough.
So apple pie it is. I know the title is “not your grandma’s apple pie” and it’s not to offend any grandmas. Not that my grandma ever made apple pie, but I can imagine some grandmas do. Ok enough rambling let’s get baking!
I even made my own dough using:
The stuffing had:
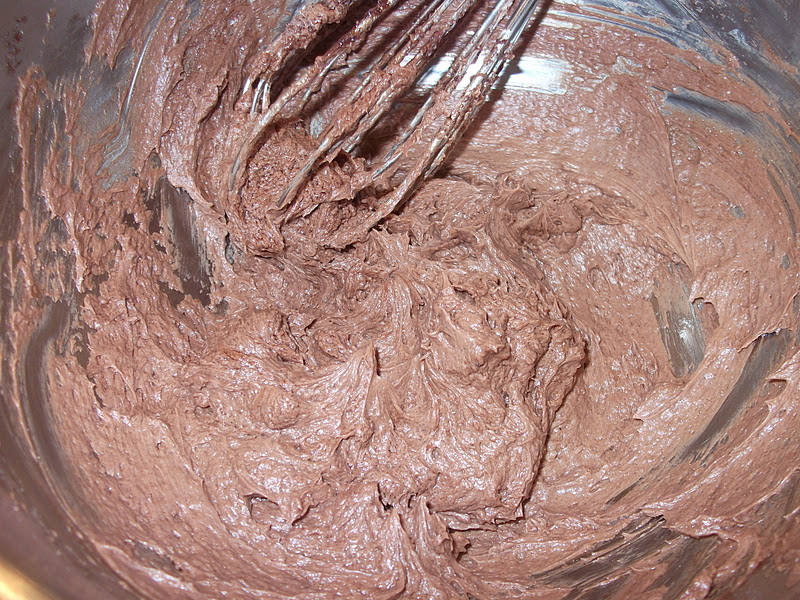
 In a big bowl I put in the flour, baking powder, sugar, salt, cinnamon and butter and used my finger (tips) to mix the butter with the other ingredients. It’s like making crumble but without junks. Then I added the zest of one lime.
 I beaded 2 eggs and slowly added that to the dough. You can slowly see it come together and form a nice ball of dough. After kneading it for a couple of minutes the dough was ready!
 Normally now it’s time to chill the dough before you roll it out, but I thought I would be easier to put my dough in the mould first and chill it later. Because I don’t have a rolling pin I had to do it slightly different.
I took a piece of dough and flatten it out between my hands. Then I used something with a flat bottom to flatten it out more, in my case a drinking glass. I used the same glass to flatten en smoothen out the sides. It wasn’t the fasted way, but it worked.
There was enough dough to cover the bottom and the sides but make sure you keep some aside for the top.
Now it was time to chill it in the fridge while I make the stuffing.
 I peeled, cored and sliced 4 apples in big junks and put time in a pot with the cinnamon, the sugar and the lime zest.
 I washed the raisins (yes, you always should wash them first!) and added them to the apples.
 I turned the heat on low so the apples could release some liquid and the raisins could soak in it for a bit. Then I found a handful of grapes and thought they would taste good in the pie as well so I peeled and deseeded them.
I just wanted the apples to soften so I didn’t cook them for long. The small apple I kept aside was added to the rest of the apples raw, just to give it some more texture. As the apples released some liquid I added one big tablespoon of flour and gave it a good sire. This will bind it all together.
 After the apples were cooled down a bit it was time to put the pie together. I scooped 2 big tablespoons of lemon curd on the bottom and made sure the crust was covered before I poured the apple mixture in.
 I used a bottle to roll the dough out and with a cutter I made nice ribbons.
Then to make the top nice and shiny I brushed it with a bit of egg wash.
 I preheated the oven on 180C degrees and baked the pie for 1 hour and 20 minutes. The pie came out beautifully!

 It’s been ages since my last apple pie and this one was sooo good it was gone in 2 days!
Ps: I still had a bit of dough left…wait till you see what I did with that.
I know my American family and friends celebrated Thanksgiving last Thursday and I hope you all had a great time with your loved ones. I wanted to make Thanksgiving dinner but the hubby didn’t want me to; too much trouble for just the 2 of us. So instead of having turkey we ate Vietnamese goi cuon.
It’s been almost 2 weeks since I got my first eye done and things are going just great. The whole procedure wasn’t as bad as I thought and after about 30 minutes later I was ready to go home. After the check up the next day I went straight to work.
So if you are thinking about having your eyes done, you should go and see what the possibilities are. Just to see if you are a candidate, because not everyone is. They first have to check if your eyes are suitable for it and then they have to determine what works for you. All you hear about eye correction is lasik or lasek, but there is more. And maybe better suitable for you. Yes it was a lot of money, but so far it’s been worth every penny.
I haven’t made apple pie in ages and I had about 4 Jonagold apples that had to be eaten. You know your apple has past the expiration date when the skin is getting somewhat oily. When that happens I normally lose my appetite in eating it raw, but for an apple pie they are still good enough.
So apple pie it is. I know the title is “not your grandma’s apple pie” and it’s not to offend any grandmas. Not that my grandma ever made apple pie, but I can imagine some grandmas do. Ok enough rambling let’s get baking!
I even made my own dough using:
- 350 grams of flour
- 1 teaspoon of baking powder
- Zest of one lime
- 100 grams of sugar
- 200 grams of butter
- ½ teaspoon of salt
- 2 eggs (1 extra egg for brushing the top)
- ½ teaspoon of cinnamon
The stuffing had:
- 4 big apples + 1 small one
- Zest of one lime
- 1 tablespoon of sugar (or more if you have tart apples)
- 2/3 cups of raisins
- ½ teaspoon of cinnamon
- 1 handful of grapes
- 2 tablespoons of lemon curd


I took a piece of dough and flatten it out between my hands. Then I used something with a flat bottom to flatten it out more, in my case a drinking glass. I used the same glass to flatten en smoothen out the sides. It wasn’t the fasted way, but it worked.
There was enough dough to cover the bottom and the sides but make sure you keep some aside for the top.
Now it was time to chill it in the fridge while I make the stuffing.


I just wanted the apples to soften so I didn’t cook them for long. The small apple I kept aside was added to the rest of the apples raw, just to give it some more texture. As the apples released some liquid I added one big tablespoon of flour and gave it a good sire. This will bind it all together.


Then to make the top nice and shiny I brushed it with a bit of egg wash.


Ps: I still had a bit of dough left…wait till you see what I did with that.