Showing posts with label mini series. Show all posts

20 May 2012

Mini brioche bread

I haven’t been so excited about food for a long time. The reason why…
Little brioche molds! I’ve found these last Friday and I spend all Saturday looking for a brioche recipe! I even look at some videos online and I never do that! So I knew it was serious. Even though the hubby said no more cooking I had to do it.
My sister in law got me these super cute measurement cups. No more converting cups to grams! Thanks sis!

I’ve found several recipes, some very easy (mix all the ingredients together and you’re good to go) some more time consuming. As much as I would like to go for an easy recipe the pictures of the end product didn’t look as airy and fluffy as I wanted it to be. I wanted to have a brioche that didn’t need like 8 eggs and a ton of butter but still turned out light and fluffy. So I picked this one because most recipes talk about making a sponge first and this recipe seems to describe the steps the easiest:
I know the 38 steps on the site are quite intimidating, but I’ll break it down in lesser steps to make it easier. Everything is mixed in a stand mixer with a dough hook so there’s really no need to knead it by hand. Also it takes a lot of (resting) time before you can bake the brioche so make sure you either have plenty of time or make one day ahead.
For the about 50 mini brioches or 3 loaves you’ll need to make the sponge first:
Put 1/3 cup of lukewarm milk, 2 1/4 teaspoons of active dry yeast, 1 egg and 1 cup of all purpose flour in a bowl and mix it till everything is blended. There will be lumps of flour in there but don’t worry, this will all smoothen out. Then cover the mixture with 1 cup of flour and set it aside uncovered for about 30-40 minutes.
 
After the resting time you should see some cracks indicating that the yeast is active and doing what it has to do. If you don’t see any cracks this means your yeast is dead and you’ll have to make a new batch.
Now it’s time to add the rest of the ingredients:
-       1/3 cup of sugar
-       1 teaspoon of salt
-       4 room temperature eggs slightly beaten
-       1 package of vanilla sugar (about 1 teaspoon)
-       1 ½ cup of all purpose flour
-       185 grams of unsalted room temperature butter (I know the recipe talks about 6 ounces (about 170 gram) but I use a bit more)
Add everything to the sponge mixture except for the butter and ½ cup of flour. Mix it in your stand mixer with the dough hook on low till medium speed till all the flour is incorporated then add the ½ cup of flour and mix it again for about 15 minutes till you have a smooth dough. Make sure you stop every now and then to scrape down the sides and the hook. A lot of dough will get stuck and try to work their way up, just stop and push it back down. I don’t think I made the 15 minutes since my stand mixer was bumping up and down like crazy and I didn’t want to overwork the machine. So I stopped when they dough got together and wrapped itself around the hook. At this point the dough won’t be stuck to the sides either.
Now it’s time to incorporate the butter. Since it is room temperature it’s easier to mix it in the dough. Mix it tablespoon by tablespoon till all the butter is incorporated. Mix it till the dough wraps itself around the hook again and slaps to the sides of the bowl. If needed add some more flour.
Butter a big bowl and pour the dough in. It should be elastic and shiny. Cover it with plastic wrap and let it rest at room temperature for about 2-2 1/2 hours or till it doubles in volume.
Then leave the dough in the bowl but use your fingers to tuck the sides in. Work your way around the dough till you tucked it all in and all the air is out. Then cover it again and let it rest in the fridge for at least 4-6 hours, but preferably overnight.

The next day the dough double in size again and is ready for baking.

Since I had so much dough there was room for experimenting. I made 20 mini brioches in a brioche mold and 20 in my trusted mini muffin molds. And even then there was some dough left, so I chopped some dark chocolate and filled the dough to make some chocolate brioche.
After forming the bread it had to rest for about 1 hour or till it doubled in volume again.
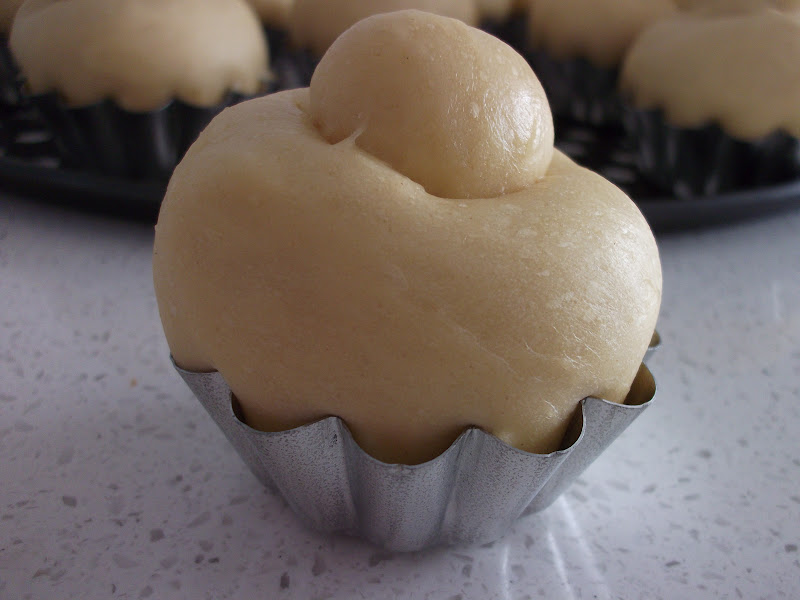
 
Brush it with some egg wash and bake it in a preheated oven (190C degrees as in the recipe is way too hot, 170C degrees is better) for about 15-25 minutes till they are golden. By now the house smells like a French bakery!
The brioche was so light and fluffy. This recipe is a winner! I’ve never made brioche before so if can do it…everyone can!

PS: if you like your brioche sweet you should add some more sugar. For me it wasn’t sweet enough!

01 December 2011

The mini series: chocolate flower cups

After making apple pie I still had a bit of dough left. It was sitting in the fridge waiting for me to come up with a smart idea. Although the apple pie was good I didn’t want to make more. I decided to roll the dough out as thin as possible and to put them in a mini muffin tin till I figured out what to make.
I used a peanut butter jar to roll the dough out. Who needs a fancy rolling pin anyway =) 
And yes, I left it in the same plastic bag I stored it. I was watching tv and didn’t want to dirty more stuff.  

With a cutter I cut cute little rounds and put them in the muffin tin. I barely had enough for 24 cups but I made it. Now what? Chocolate is always a good idea. And chocolate with some orange zest is just heaven; 24 pieces of heaven it is.
I melted one bar or dark chocolate (about 100 gram) and added about a teaspoon of orange zest. I just love the smell of those two together.

Then I mixed 2 eggs and one tablespoon of flour with the chocolate. That wasn’t a good plan at all. The chocolate turned from smooth to lumpy. I didn’t want to throw it out (of course not!!) so I had to stir till my arm fell off. It got a bit smoother, but since I would bake it in the oven I thought I would be ok.

I preheated the oven on 180C and in the mean time I scooped a bit of chocolate in the cups. You see that lump? At least it’s a lump of chocolate, could’ve been worse. I lucked out cuz again I had enough.
I baked them for 10-15 minutes till the chocolate double in volume.
They were so cute when they came out! Like little flowers...the best time to eat them is when they are still slightly warm.

Ps: I want to thank everyone for their support during the eye surgery process. It’s very much appreciated! One more eye to go next Tuesday.

03 November 2011

The mini series: chocolate lava cupcakes

After the teaser pics in my last post I just had to make the chocolate lava cakes. It just wouldn’t be right not to. Besides I have something to celebrate. Well it might be a bit too soon to celebrate, but hey, any excuse for making lava cakes works for me.

As you all know I’ve been wearing my glasses for a bit more then a month now. Yesterday I had a check up and my eyes are suitable for a lens implant. WHOEHOE! I’m so exited! Especially since the doctor will num my eyes with drops in stead of needles. I’m a big chicken, super scared of needles but the drops are awesome. They gave me one drop during the check up and I didn’t feel anything!
The only down sight is that if they don’t have the lens in stock it will take up to 12 weeks to custom make it for me. That would mean I can’t have it done this year, but have to wait after I come back from my holiday. Oh well, I can wait…another 3 months won’t kill me. I’ve taken the first hurdle…another 2 to go.

So back to the mini lava cupcakes. I bet you’re all exited…here goes:

As I don't remember what I did the other day I tried to remake it. It was tasty, but didn't quite taste/looked the same.

For 20 mini cupcakes I used:
- 100 grams of room temperature butter
- 4 table spoons of sugar
- 1 tablespoon of cocoa powder
- 4 big table spoons of all purpose flour (3 if you like it soft and moist)
- ½ teaspoon of salt
- 1 egg
- ½ teaspoon of baking powder
- 1 bar of dark bittersweet chocolate
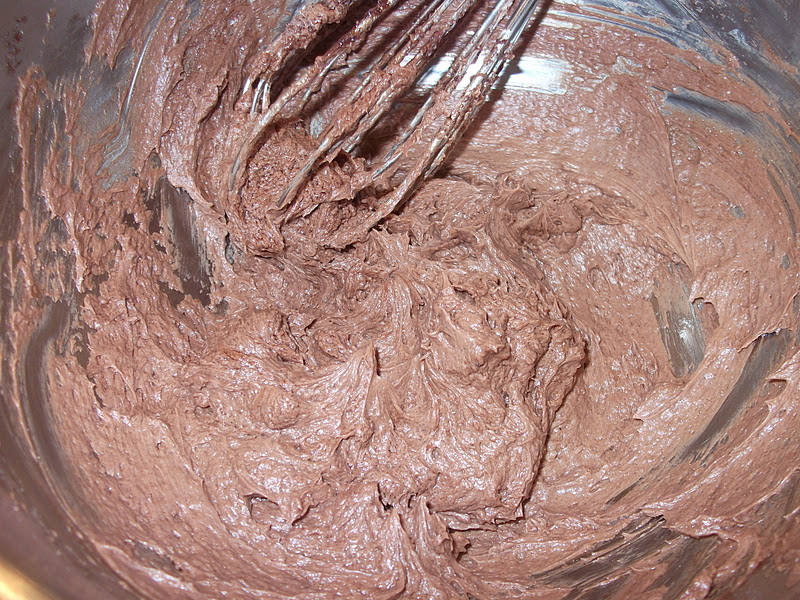
I stared with mixing the butter with the sugar, salt and the cocoa powder.
Then the egg and baking powder went in. I mixed it till the sugar dissolved.
Last but not least I added the flour. I added it spoon by spoon, making sure all the flour was well incorporated before I added another spoon.
I chopped the chocolate bar in little bits, small enough to fit the molds, but big enough to have it "run" out of the cake. This bar was a bit too much so I still had some bits I could snack on.
I preheated the oven on 180C degrees and while that was doing its thing I filled the molds with one scoop of batter.
In the middle I pressed one piece of chocolate. It’s ok if it’s still sticking out for a bit. The cakes will rise and the chocolate bits will slightly sink.
After about 20 minutes they were done.
They didn’t rise as much as I though they would and they weren’t as moist as the first time.
But that sprinkle of sugar dust does make them pretty =)
 
The outside had a nice crunch like a cookie, but the inside was moist and had that running chocolate. It was good, but not like the first time at all. Luckily I know what made the difference. It was that extra scoop of flour. So if you like your cake soft and moist, add 3 tablespoons of flour instead of 4.

27 October 2011

The mini series: lemon poppy seed cupcakes

Have you missed it? I know I have. It’s been way too long since I did my last mini series and now since I started yesterday I can’t seem to stop. You all know I’m not a much of a baker. I like to “wing it” too much and I can’t seem to follow a recipe. On top of that most recipes call for bigger quantities that good for me. So that’s another reason why I love my mini cupcake mold so much. I don’t feel so bad if I pop one or two or more in my mouth.
Yesterday I made chocolate lava mini cakes and they were great!! Wait there’s more…
They were so great we finished one whole batch in a couple of seconds. Unfortunately since I wasn’t planning on blogging about it I didn’t make notes of the measurements. I know it had some butter, 1 egg, 1 tablespoon of cocoa powder, 4 tablespoons of sugar, 3 tablespoons of all purpose flour, some baking powder and of course some bits of dark chocolate. I mixed everything together and baked it for 20 minutes in a preheated oven of 180C degrees.

Voila mini chocolate lava cakes!

I’m going to remake these and write down the measurements, promise!

After yesterdays adventure I thought about making it again today. You can’t have enough chocolate, but I was craving something else. Something tangy with a bit of a twist. I looked in my cabinet and there it was…one jar of poppy seeds. That together with some lemon makes a terrific combo for these cupcakes. So I grabbed a pen and paper and started writing things down.

This recipe only makes 21 mini cupcakes so don’t invite too many people over:
- 100 grams of butter
- 4 tablespoons of sugar
- ½ teaspoon of salt
- 3 tablespoons of fresh lemon juice
- 1 egg
- 4 tablespoons of all purpose flour
- ½ teaspoon baking powder
- 1 teaspoon of lemon zest
- 1 tablespoon of poppy seeds 
I started with mixing the room temperature butter with the sugar and salt. Then I added the lemon juice, lemon zest and one egg.
When everything was combined and the sugar dissolved I added the flour and the baking powder and gave it a good whisk.
Last but not least I added the poppy seeds. 
Did I mention that I didn’t use a mixer this time but did everything by hand? It was a good work out; 2 cupcakes more for me =)
I preheated the oven on 180C degrees and started to fill the molds.
I baked the cakes for 20 minutes till they were golden brown and put them on a rack to cool.
Of course one or two mysteriously disappeared. But they left a nice sweet, tangy and nutty flavor.
Don’t you just love the poppy seeds just pops in your mouth when you bite them?

I called my sister down and some more cupcakes disappeared. I don’t think they will survive the night. I better get some before they're gone.